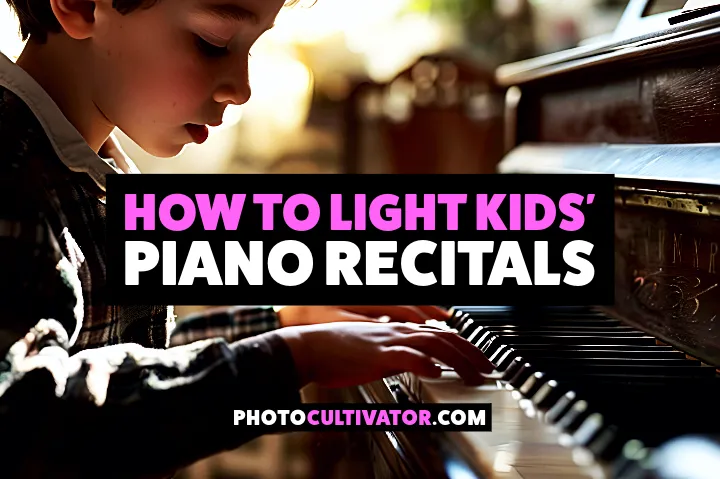
How to Light Kids' Piano Recitals
Advertisement
Photographing children’s piano recitals can be frustrating.
Dark auditoriums with yellow overhead lights make it nearly impossible to capture clear, crisp photos that parents will love. These special moments often turn into grainy, shadowy disappointments without proper lighting.
But there’s a simple solution that won’t intimidate young performers or require expensive gear.
Here’s how to get beautiful piano recital photos without making the kids nervous.
The Piano Recital Lighting Nightmare (And Why It Matters)
Piano recitals are lighting nightmares.
The dim, yellow overhead lights create harsh shadows on children’s faces. When you try to compensate by raising the ISO, you end up with grainy photos that parents won’t want to frame.
If you’re struggling with this color cast in your existing photos, check out my guide on how to fix yellow tint in photos for quick editing solutions.
What makes these events even harder?
The young performers are already nervous! Using flash or setting up obvious lighting equipment will only make them more anxious and self-conscious.
Solution: you can use simple, nearly invisible lighting solutions that get professional results without adding stress for the kids.
Kid-Friendly Lighting Solutions That Disappear Into the Background
Pocket-Sized Light Magic
Forget bulky professional gear that screams “PHOTOGRAPHER AT WORK!”
Instead, reach for mini LED panels like the Aputure MC Pocket LED Light or Godox M1 RGB Mini Creative Light, which you’ll find in my list of 23 incredible camera gift ideas that photographers love.
These smartphone-sized lights fit in your pocket but deliver incredible results.
When a child performer asks after the recital, “Did you take pictures? I didn’t even see you!” That’s exactly the reaction you want!
For mounting these lights discreetly, I recommend the Manfrotto PIXI Mini Tripod with a SmallRig Mini Ball Head.
This compact combo can be placed on nearby surfaces or attached to chair backs with a Manfrotto Super Clamp for perfect positioning without drawing attention.
The Perfect Light Placement Formula
Position those little lights at 45° angles from the piano, keeping them below eye level.
This gentle side lighting works like magic-it brightens faces without casting weird shadows or blinding performers.
When one light is positioned specifically to illuminate the sheet music area, photos can capture both the child’s expression AND the music they’re playing—something parents and teachers particularly appreciate.
A Zero-Budget Solution That Works Every Time
Running on a tight budget?
A simple white foam board from the dollar store can work miracles. Position it strategically to bounce the existing ceiling light toward the piano.
Parents often think professional equipment was used, not a $1 solution!
This is similar to using aNeewer 5-in-1 Collapsible Light Reflector that many portrait photographers rely on for soft, flattering light.
5-Minute Setup That Makes All The Difference
Arrive 30 minutes early.
This single habit can save more shoots than any piece of equipment. Get there before the families arrive, when the venue is empty.
Control light spill with household items. No fancy barn doors? Use black gaffer tape (like ProTapes Pro Gaff Premium Tape) and even cardboard from a cereal box to direct light exactly where you need it.
Go cord-free.
Battery-powered lights eliminate trip hazards and give you the freedom to position them perfectly.
I recommend keeping spare batteries like Wasabi Power NP-FW50 Batteries for Sony cameras or LP-E6 Batteries for Canon users.
Or else you might end up unplugging the piano teacher’s music stand lamp with your extension cord!
The essential dress rehearsal: Ask a teacher or your assistant to sit at the piano while you take test shots. This 30-second check prevents disappointment later.
Camera Settings That Turn Dark Venues Into Opportunities
When fighting those challenging conditions, these specific settings become your best allies:
- Open wide. Use your fastest lens (f/1.8 or f/2.8) to let in maximum light, like the Sony 50mm f/1.8 or Canon 50mm f/1.8 STM prime lens options I covered in my camera lens upgrade guide for low light shooting.
- Lock in 1/60s minimum shutter speed; anything slower and those moving hands become blurry
- Find your ISO sweet spot: test different settings during your early setup time
- Always shoot RAW. These files are your insurance policy for difficult lighting, and make sure you’ve got enough space on a SanDisk Extreme PRO SDXC UHS-I or Sony Tough SF-G Series UHS-II memory card to handle these larger files
Quick Edit Tricks That Save “Impossible” Shots
Even with perfect preparation, some images need a little help:
Invest in good noise reduction software: Topaz DeNoise AI is like magic for high-ISO images from recitals
Use the “radial filter” technique in Adobe Lightroom to brighten just faces while keeping the moody recital atmosphere
💡Pro trick: slightly desaturate the yellows and oranges to neutralize that institutional lighting cast. For more comprehensive tips on this challenge, see my complete guide on low-light photography techniques.
What’s Your Experience?
Have you ever had the opportunity to capture these challenging piano performances?
Share your creative solutions! Drop a comment below with your best piano recital photography hack.
When parents see photos capturing their child’s focused expression, the nervous smile after the final note or that proud bow-technical perfection becomes secondary to emotional impact.
These aren’t just photos; they’re preserved memories of childhood achievements.
Looking to photograph other challenging indoor events? Check out my comprehensive event photography tips for more advanced techniques that work in different low-light venues.
I hope that helps and gives you some further ideas.
—Hakan | Founder, PhotoCultivator.com