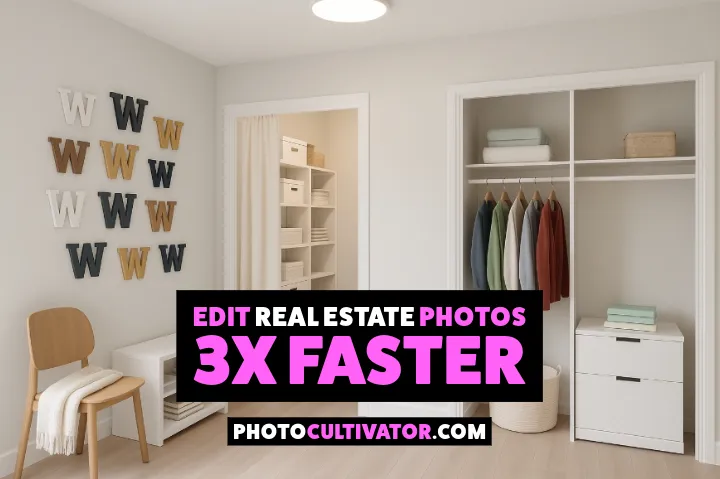
Edit Real Estate Photos 3x Faster (Without Outsourcing)
Advertisement
If you’re spending 6–12 hours editing a single shoot, you are likely burning out.
In real estate photography, time is money. And while quality matters, getting stuck in post-production quicksand is a fast way to turn a passion into a frustrating grind.
Let’s break down some of the most effective ways to improve your editing process while still delivering polished, professional results.
1. Choose the Right Editing Workflow for Your Goals
There are three primary approaches real estate photographers use today:
- HDR (High Dynamic Range): Great for beginners and simpler edits, but manual blending in Photoshop can eat up your day. Batch tools like Photomatix or Aurora HDR can drastically reduce this time. If you’re new to HDR workflows, check out my full guide on how to master HDR photography for real estate and beyond.
- Flambient (Flash + Ambient): This method produces high-end results with less post-processing, if you nail your lighting on site. Once mastered, it can cut editing down to 2–3 minutes per image.
- Single Exposure or Handheld Flash: For quick turnaround on lower-end listings, shooting handheld with one exposure and light fill flash can be surprisingly effective. Many pros blend minimal editing with smart shooting techniques.
Each workflow has tradeoffs. The key is aligning your editing method with the property type, turnaround time, and pricing tier.
2. Offer Tiered Photo Services
Not every listing needs a luxury-grade edit.
Offering two packages—basic HDR and premium flambient—will help you set clear expectations and optimize your time.
- Standard HDR Package: 3 bracketed exposures, minimal post. Ideal for smaller or mid-range homes.
- Premium Package: Flambient or more artistic edits, priced higher for luxury listings.
This not only helps clients choose what fits their budget, but also lets you protect your time and earn more on high-end projects.
3. Automate and Batch Wherever Possible
Time-saving tools are essential:
- Lightroom Classic + HDR Merge: Quick batch processing for bracketed exposures. If Lightroom is part of your workflow, this guide on Lightroom desktop performance can help you speed things up even more.
- Photomatix + Lightroom Presets: Batch HDR blending with post-editing presets to improve color correction and exposure.
- Canva (yes, really): For non-technical clients or social packages, Canva’s drag-and-drop filters can speed up quick edits. Not for purists, but great in a pinch.
Batching edits and using presets can bring your edit time down to under an hour for a 30-photo shoot.
4. Invest in Efficient Gear (Without Breaking the Bank)
Flambient setups don’t need to cost $1,000+. Affordable gear can get the job done:
🛠 Recommended Budget Kit for Flambient Shooters:
Even HDR shooters benefit from small tweaks:
- Use only 3 bracketed exposures unless the scene really demands more.
- Avoid RAW for lower-end listings if you don’t need the flexibility.
- Learn your camera’s built-in HDR features; many mirrorless bodies can merge in-camera.
5. Outsource If It’s Holding You Back
There’s no award for editing every image yourself.
If editing is bottlenecking your growth, consider outsourcing. Many editors on Facebook groups or platforms like Upwork can deliver within 24 hours, and costs are often low enough to justify even on smaller jobs.
Don’t wait until burnout hits. Handing off editing can help you book more shoots, raise your prices, or simply get your evenings back.
6. Don’t Aim for Perfection Every Time
It’s tempting to treat every image like a portfolio piece, but real estate photography isn’t fine art.
Most homes don’t need flawless window pulls or pixel-perfect masking. Focus on clean, well-lit, straight, and color-corrected images. That’s what sells homes.
Your goal should be consistent quality that reflects the property accurately, not perfection that keeps you editing until 2 a.m.
7. When Should You Charge Clients?
One overlooked time-saver isn’t about editing; it’s about payment.
Charging before the shoot or before media delivery can drastically reduce cancellations, ghosting, and follow-up stress. Many photographers now use systems where clients must pay before downloading the final images.
Here are a few tested approaches from working pros:
- Pay-to-Book: Some use tools like HDPhotoHub, requiring payment upfront to confirm the shoot; this cuts down on last-minute cancellations.
- Invoice with Lock: Others send the invoice along with watermarked photos. Clients can preview the work, but can’t download until the bill is paid.
- Net Terms for Trusted Clients: For repeat clients, net 7 or net 15 terms can build goodwill, but keep things tight with clear reminders.
⚠️ Pro Tip: Make sure your delivery system supports content locks or watermark previews. It protects your time and your work.
There’s no one-size-fits-all. But whatever you choose, make it part of your standard workflow. It saves time, prevents awkward follow-ups, and makes your business look more professional. For more advice on setting clear client expectations, check out my photography pricing guide.
Bonus Tip: Help Clients See the Potential
Even with beautifully shot photos, many buyers struggle to visualize how a space could look. If the home is outdated or unfurnished, it’s tough to create emotional connection.
That’s where tools like ImmoMagic shine. In just a few clicks, you can create realistic virtual staging — no furniture, no complex software. It’s a powerful way to show buyers the “after” when all they’re seeing is the “before.”
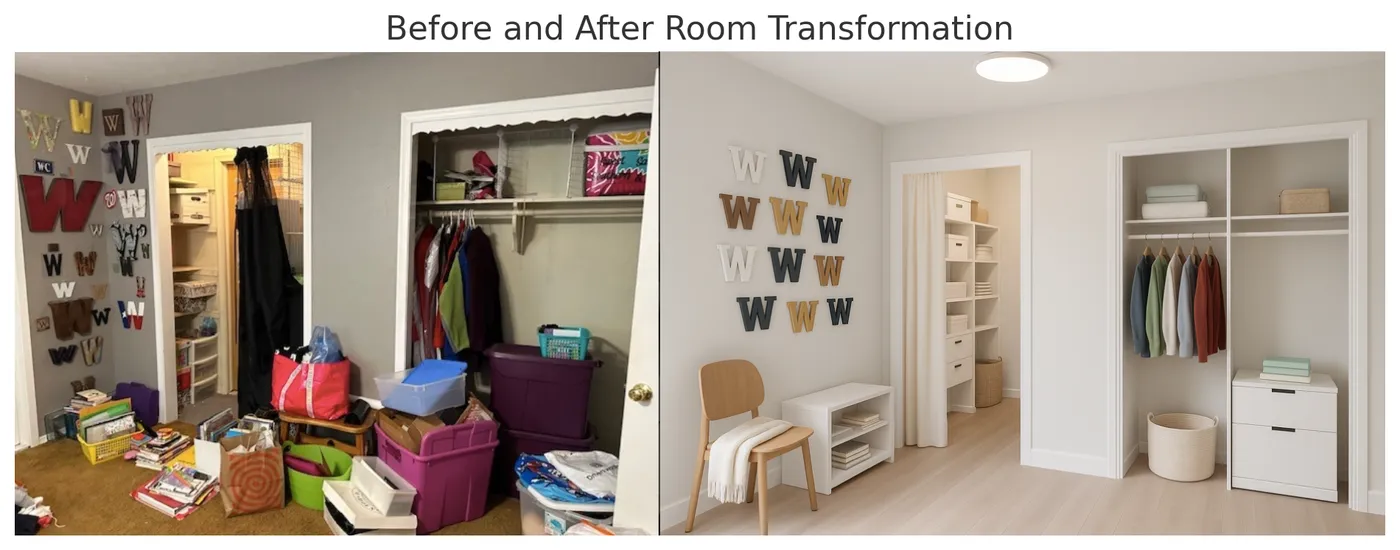
Use it during follow-ups or post-showings to reignite interest and help buyers picture what’s truly possible — all with ImmoMagic.
Final Thoughts
Real estate photography should be a business that works for you, not one where editing rules your life.
Choose the right workflow for your market, simplify your process with automation and batching, and don’t be afraid to outsource when it makes sense.
Your clients don’t want perfect: they want fast, reliable, and good enough to make the listing stand out.
Want to go explore more about real estate photography? Don’t miss my top real estate photography tips or explore the full Photocultivator archive for weekly ideas, gear breakdowns, and post-production tricks.
—Hakan | Founder, PhotoCultivator.com