Best Cameras for Plane Spotting in 2026 — All Budgets
This post contains affiliate links. If you buy through them, I earn a commission at no extra cost to you.
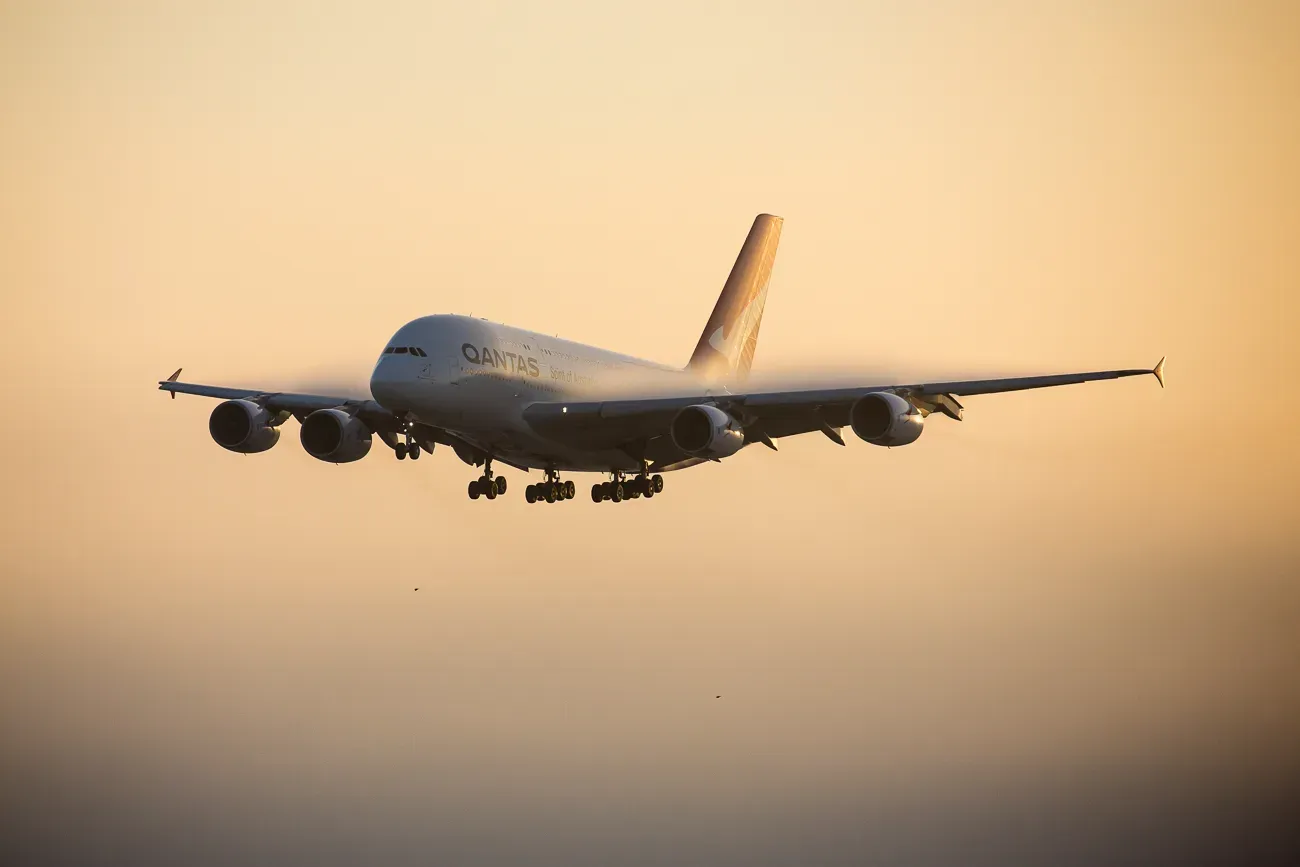
Advertisement
Last Updated: May 2026
Plane spotting is a zoom game. Reach, tracking speed, and a fast shutter matter far more than megapixels when you are trying to freeze a jet on approach from half a mile away.
The good news is you do not need to spend a lot to get started. And if you already shoot and want to upgrade, there are some excellent mid-range options that make a real difference.
This guide covers the best cameras for plane spotting at every budget, from cheap superzooms to serious mirrorless setups, plus the lenses, settings, and tips that actually affect sharpness.
Quick Picks
Not every camera tracks a fast-moving aircraft well. The two things that matter most are optical zoom reach and whether the camera has a viewfinder for bright outdoor conditions.
Here is a quick summary before the full breakdown:
- Budget (under $400): Canon PowerShot SX60 HS or Nikon Coolpix L840
- Mid-range ($400 to $800): Nikon Coolpix P950 or Sony RX10 IV
- Mirrorless upgrade: Sony A6400 or Canon R10 with a 100 to 400mm lens in the matching lens mount
Full breakdown below.
What to Look for in a Plane Spotting Camera
Before picking a camera, it helps to know what actually matters for this type of photography.
Zoom reach. Aircraft are far away. For viewing areas at most airports, you need at least 300mm equivalent. For runway shots or distant passes, 500mm to 600mm equivalent makes a big difference. This is why superzooms are so popular for plane spotting.
Viewfinder. An electronic or optical viewfinder makes tracking moving planes much easier than an LCD screen. In bright sunlight, LCD screens wash out. A viewfinder keeps your eye on the aircraft.
Autofocus speed. Fast continuous autofocus keeps a moving plane sharp through a burst of shots. Budget cameras are slower here, which is why burst mode and picking the sharpest frame matters more at the entry level.
Burst mode. Even a modest burst rate of 3 to 5 frames per second helps. Shoot in bursts on passes and pick the sharpest frame after.
Best Budget Cameras for Plane Spotting (Under $400)
These cameras are widely available new or used and work well for beginners learning the hobby.
Canon PowerShot SX60 HS — Best Zoom Reach on a Budget
The SX60 HS is the strongest all-round budget option for plane spotting. It has 65x optical zoom (equivalent to 1365mm), which gives you serious reach on distant aircraft without spending much.
Key specs:
- 65x optical zoom
- Electronic viewfinder for bright outdoor use
- 16MP sensor
- Continuous shooting up to 6.4fps
The electronic viewfinder is a real advantage over LCD-only cameras at this price. Tracking a moving aircraft is noticeably easier when you are looking through a viewfinder rather than squinting at a screen in sunlight.
One thing to watch: avoid the digital zoom. It degrades image quality fast. Stick to optical zoom only.
Best for: beginners shooting approaches and departures from public viewing areas, especially in bright conditions.
Nikon Coolpix L840 — Best Simple Superzoom
The Nikon Coolpix L840 is a simple, beginner-friendly superzoom with 38x optical zoom and a 16MP sensor. It is easy to use straight out of the box and widely available at a low price point.
The main trade-off is no viewfinder. It uses an LCD screen only, which can be hard to see in direct sunlight. If you plan to shoot on overcast days or from shaded locations, this matters less.
Best for: complete beginners who want a straightforward starting point and plan to shoot in good or diffused light.
Sony Cyber-shot DSC-H300 — Best Cheap Bridge Option
The H300 offers 35x optical zoom and a 20.1MP sensor at a very low price point. Like the L840, it has no viewfinder, just an LCD screen.
Best for: ultra-budget spotters or as a first camera for a younger enthusiast.
Canon EOS Rebel T7 with Telephoto Lens — Best Path for Improvement
If you have some interest in photography beyond plane spotting, the Rebel T7 with a telephoto zoom is worth considering. The 24.1MP APS-C sensor and ability to swap lenses gives you far more flexibility than a fixed-lens superzoom.
Recommended lenses:
- Canon EF-S 55-250mm IS STM: lightweight, sharp, good for takeoffs and landings
- Canon EF 70-300mm f/4-5.6 IS III USM: more reach, better for distant runway shots
The 55-250mm is the better starting point. It is lighter, cheaper, and covers most airport viewing situations well.
New to cameras in general? Read the best cameras for beginners guide first before deciding.
Best Cheap Camera for Plane Spotting
If your budget is under $150, the Canon SX60 HS used or the Nikon L840 are the two best options. Both produce sharp aircraft shots in good daylight. The SX60 HS is the stronger pick because of the viewfinder. Check eBay and local used camera shops for current prices.
Best Mid-Range Cameras for Plane Spotting ($400 to $800)
Once you move past the budget tier, autofocus improves significantly and zoom reach increases. These two cameras are the most popular mid-range choices among plane spotters.
Nikon Coolpix P950 — Best Mid-Range Superzoom
The P950 is the go-to mid-range superzoom for serious plane spotters. Its 83x optical zoom gives you the equivalent of 2000mm, which is exceptional reach for fixed-lens cameras at this price.
Key specs:
- 83x optical zoom (2000mm equivalent)
- Electronic viewfinder
- Built-in GPS for geotagging shots
- Around $550 to $600 new
The GPS geotagging is a genuinely useful feature for logging spotting locations. At 83x, you can fill the frame with aircraft that cheaper superzooms would struggle to resolve at all.
Best for: dedicated plane spotters who shoot regularly and want maximum reach without moving to interchangeable lenses.
Sony RX10 IV — Best All-in-One for Serious Spotters
The RX10 IV sits at the top end of this price range but offers a combination of features that no other fixed-lens camera matches. Its phase-detect autofocus system is built for tracking moving subjects, unlike the contrast-detect systems found in most superzooms.
Key specs:
- 25x optical zoom (600mm equivalent)
- Fast phase-detect autofocus with subject tracking
- 24fps burst mode with minimal blackout
- Weather-sealed body
- Around $700 to $800 used
The trade-off versus the P950 is less zoom reach. But the RX10 IV uses phase-detect autofocus rather than the contrast-detect systems in most superzooms, which is better suited to tracking fast passes. For airshows or close approaches, that makes it the stronger tool.
Best for: photographers who already shoot action or sports and want a camera that handles aircraft tracking with more precision. If you shoot motorsport or wildlife alongside planes, read the motorsport photography guide for more on settings that carry over directly.
Best Mirrorless and DSLR Setups for Plane Spotting
If you are ready to move beyond a fixed-lens camera, a mirrorless body with a dedicated telephoto zoom gives you the most flexibility.
The most popular setups at this level:
- Sony A6400 with a 70-350mm or 100-400mm lens: fast autofocus, compact body, excellent subject tracking. The A6400 has no in-body stabilisation, so a stabilised lens makes a real difference for video. Read the best gimbals and accessories for the Sony A6400 before buying.
- Canon EOS R10 with the 100-400mm lens: strong autofocus, good value for Canon shooters
- Nikon Z50 with a 50-250mm or 100-400mm: solid entry-level mirrorless option
The main advantage over superzooms is autofocus reliability and image quality, especially in lower light. The main disadvantage is cost and the need to carry a separate telephoto lens.
If you shoot other subjects alongside planes, a mirrorless setup is worth the investment because the body works for everything. If plane spotting is your only use, a mid-range superzoom is simpler and cheaper.
Essential Camera Settings for Plane Spotting
Whatever camera you use, these settings give you the best chance of sharp aircraft shots.
Shutter speed. Use at least 1/1000s to freeze aircraft in flight. For fast jets on close passes, 1/2000s is safer. For slower propeller aircraft or helicopters, 1/500s works well.
Aperture. Set between f/5.6 and f/8 for a good balance of sharpness and depth of field. Wide open apertures are not necessary and can soften detail on distant subjects.
ISO. Keep it as low as your shutter speed allows in good daylight. Start at ISO 100 to 400. For overcast days or early morning shoots, increase as needed.
Autofocus mode. Use continuous AF with tracking if your camera supports it. This keeps focus locked on a moving aircraft through a burst. On budget cameras without tracking, pre-focus on a point the plane will pass through and shoot in burst as it crosses.
Burst mode. Always shoot in burst for passes. Even at 3 frames per second, you get multiple chances to catch the sharpest frame.
Heat shimmer tip. Midday heat rising off tarmac blurs images even with perfect focus and fast shutter speeds. Shoot in the early morning or late afternoon when possible. Overcast days eliminate this problem entirely.
Light tip. Keep the sun behind you for better colour and less atmospheric haze between you and the aircraft.
For more foundational shooting advice, read the essential camera tips for beginner photographers.
Choosing the Right Location
The best camera in the world does not help if you are in the wrong spot.
Research the airport layout before you go. Find out which runway is in use on the day and position yourself at the approach or departure end depending on what you want to shoot.
Many airports have designated spotting areas or viewing terraces. These are worth using because they are legally clear, often elevated, and positioned with photographers in mind.
For in-depth location tips and more on aviation photography in general, read the aviation photography insider guide.
Aviation Photography Ethics
A few rules worth knowing before you head out:
Always follow local laws regarding photography near airports. Rules vary by country and airport. Check before you go.
Stay out of restricted zones and respect private property boundaries. If security staff approach you, cooperate fully. Most plane spotting from public areas is completely legal but the rules around specific airports vary.
Do not post images that reveal sensitive security details or restricted areas.
Post-Processing Tips
Sharp aircraft shots often need minimal editing. A few things worth doing in Lightroom or Photoshop:
Adjust exposure and contrast to bring out detail in the aircraft livery, especially against a bright sky. Use the highlights slider to recover any blown-out areas in the sky.
Apply noise reduction for shots taken at higher ISO values in lower light.
Crop to improve composition. Getting a tight frame on the aircraft after the fact is completely fine, especially with high-resolution cameras where you have plenty of room to crop.
For Lightroom performance tips when editing large batches of burst shots, read the Lightroom desktop performance guide.
Frequently Asked Questions
What zoom do you need for plane spotting?
For most airport viewing areas, a minimum of 300mm equivalent gives usable shots of aircraft on approach or departure. For distant runway shots or airshows, 500mm to 600mm equivalent produces much better results. Superzooms in the 65x to 83x range cover both without needing to change lenses.
What is the best budget camera for plane spotting?
The Canon PowerShot SX60 HS is the strongest budget option for most beginners. It combines 65x optical zoom with an electronic viewfinder, which makes tracking aircraft in bright conditions much easier than LCD-only cameras. It is widely available used for under $200.
Can you use a mirrorless camera for plane spotting?
Yes, and for serious spotters a mirrorless body with a telephoto zoom is the best available setup. The advantages over superzooms are faster and more reliable autofocus, better low-light performance, and the flexibility to swap lenses. The trade-offs are higher cost and carrying a separate telephoto lens.
What settings should I use for plane spotting?
Start with shutter priority mode set to 1/1000s or faster. Use continuous autofocus with tracking if your camera supports it, and burst mode to maximise your chances of a sharp frame on each pass. Keep ISO as low as your lighting allows.
Is plane spotting photography allowed at all airports?
Rules vary by airport and country. Most airports allow photography from public areas and designated spotting locations. Always check the specific airport’s rules before visiting, stay out of restricted zones, and follow any instructions from security staff.
What is the difference between optical zoom and digital zoom?
Optical zoom uses the physical lens to magnify the image without any loss of quality. Digital zoom crops into the sensor digitally and degrades image sharpness. For plane spotting, always use optical zoom only and ignore the digital zoom figure on the spec sheet.
Which Camera Should You Buy?
Go with the **Canon SX60 HS**if you are just starting out and want the best value under $200. It handles bright outdoor shooting better than most cameras at this price.
Go with the Nikon P950 if you shoot regularly and want serious zoom reach without moving to interchangeable lenses.
Go with the **Sony RX10 IV**if autofocus reliability and image quality matter more than maximum zoom reach.
Go with a mirrorless body and telephoto lens if you already shoot other subjects and want one camera that does everything well. The best cameras for beginners guide covers the top mirrorless options at entry-level prices if you are starting fresh.
I hope that helps. If you have questions about specific cameras or setups, drop them in the comments below.
Hakan | Founder, PhotoCultivator.com